Let's get one thing straight: an SSL certificate is no longer a "nice-to-have" technical addon. It's the very foundation of your website's credibility and a non-negotiable part of having a secure online presence. When you install an SSL certificate, you're essentially creating a secure, encrypted tunnel between your server and your visitor's browser. This protects sensitive data and, just as importantly, builds vital user trust.
Why Modern Websites Can't Afford to Skip SSL
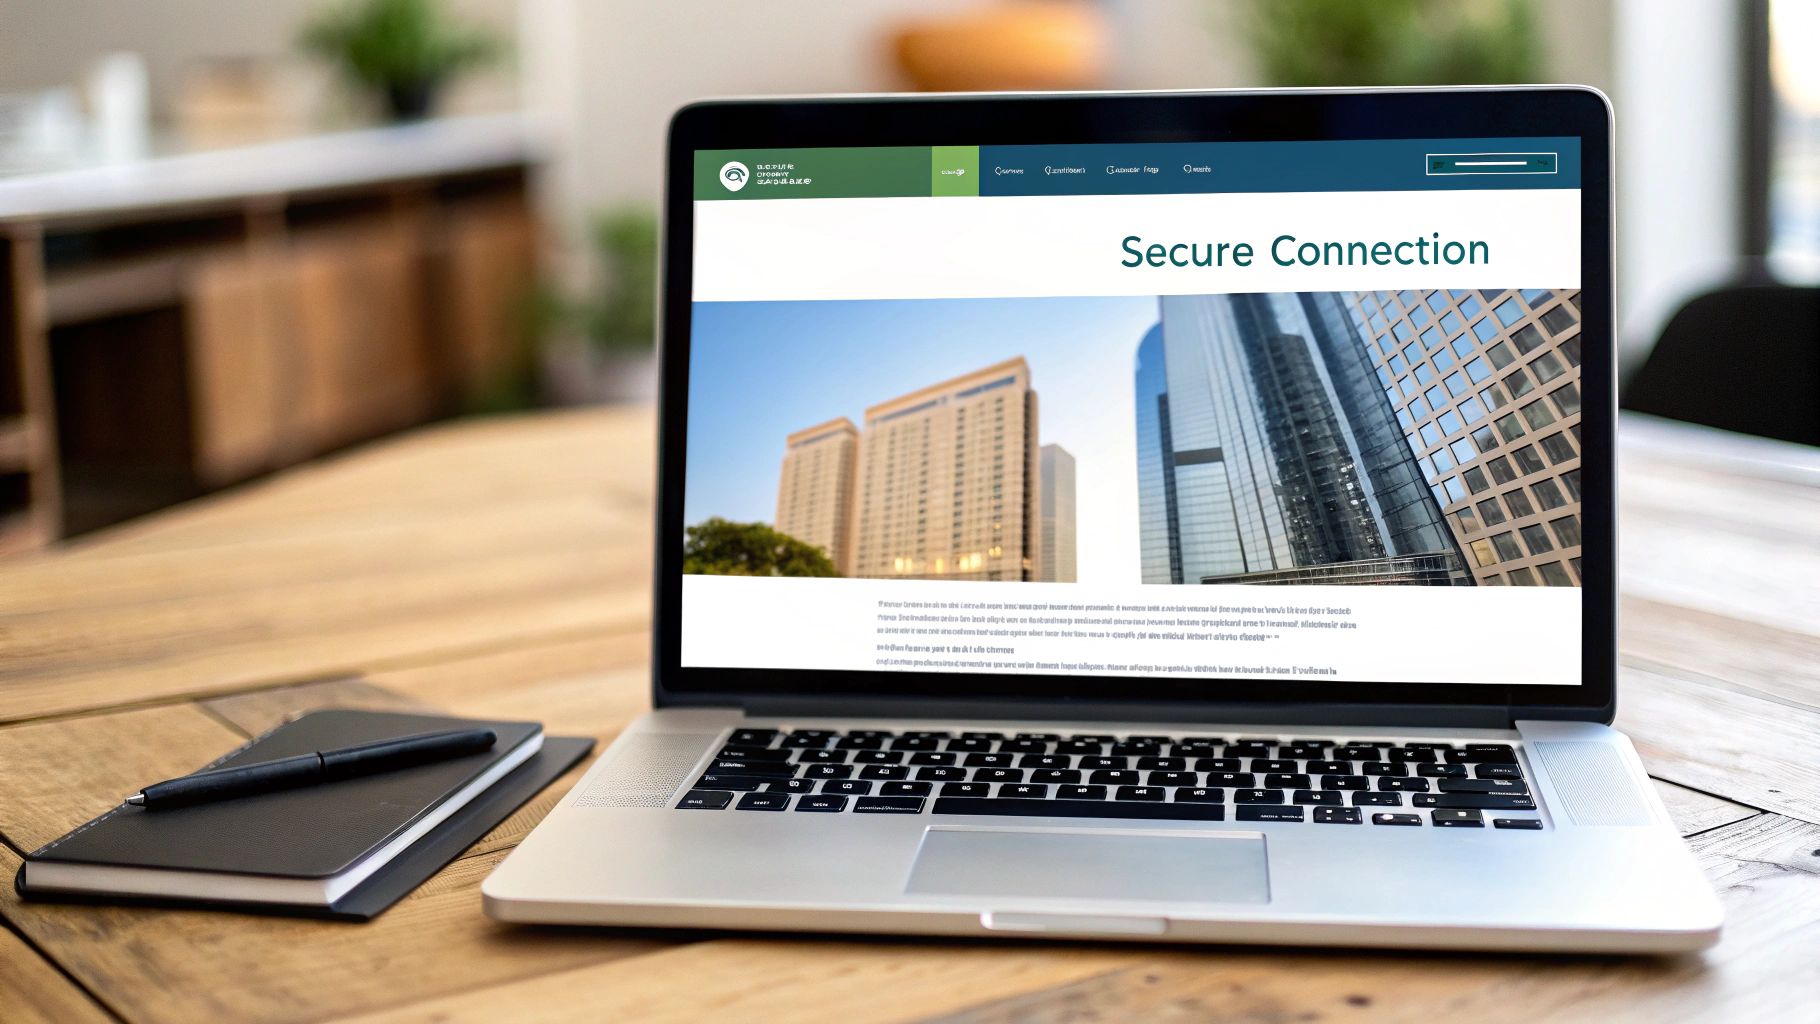
It wasn’t so long ago that SSL was mainly the concern of e-commerce sites handling credit card payments. Times have changed. Today, it’s a foundational requirement for any website, no matter what it does. That little padlock icon you see in a browser's address bar has become a universal symbol of safety and professionalism, and it directly impacts how people see your brand.
Think about it from a visitor's perspective. When they see the padlock and "https://", they instantly feel more confident sharing their information, whether it’s for a simple contact form or for creating a new account. Without it, modern browsers like Chrome and Firefox will slap a big, ugly "Not Secure" warning on your site. That's a guaranteed way to send your bounce rate through the roof and tarnish your reputation before a visitor even reads a single word.
The Pillars of SSL Protection
At its core, an SSL certificate provides a few critical layers of security that every modern website relies on. It’s not just one thing; it’s a combination of protections working together.
- Data Encryption: This is the most well-known function. It scrambles data into an unreadable code as it travels from the server to the browser. This stops cybercriminals from snooping on and stealing things like passwords, addresses, or financial details.
- Authentication and Trust: The certificate acts like a digital passport, verifying that a user is connected to the correct server and not some malicious lookalike. This is crucial for building trust and assuring visitors they're in the right place.
- Data Integrity: It guarantees that the information sent between the browser and server hasn't been secretly altered along the way. This preserves the accuracy of everything exchanged.
This entire exchange, often called the "SSL handshake," is the digital equivalent of two people securely checking each other's ID before sharing private information.
The Business Case for SSL
This push towards universal encryption isn't just a friendly suggestion; it's a clear market-driven demand. The numbers speak for themselves. An incredible 82.9% of websites worldwide are now secured with a working SSL certificate. To put that in perspective, that figure was just 18.5% five years ago.
This isn't just a global trend; it's especially relevant here in the UK, where GDPR compliance makes the secure transmission of personal data a legal requirement.
Of course, SSL is just one piece of the security puzzle. For a wider perspective, it's worth reading a comprehensive guide on how to secure a website. And if your business runs on Microsoft 365, you should also check out our guide on how to https://www.ibertechsolutions.co.uk/learn-more-about-office-365-cyber-security to ensure all your digital assets are properly protected.
Getting Your Site Ready for SSL Installation
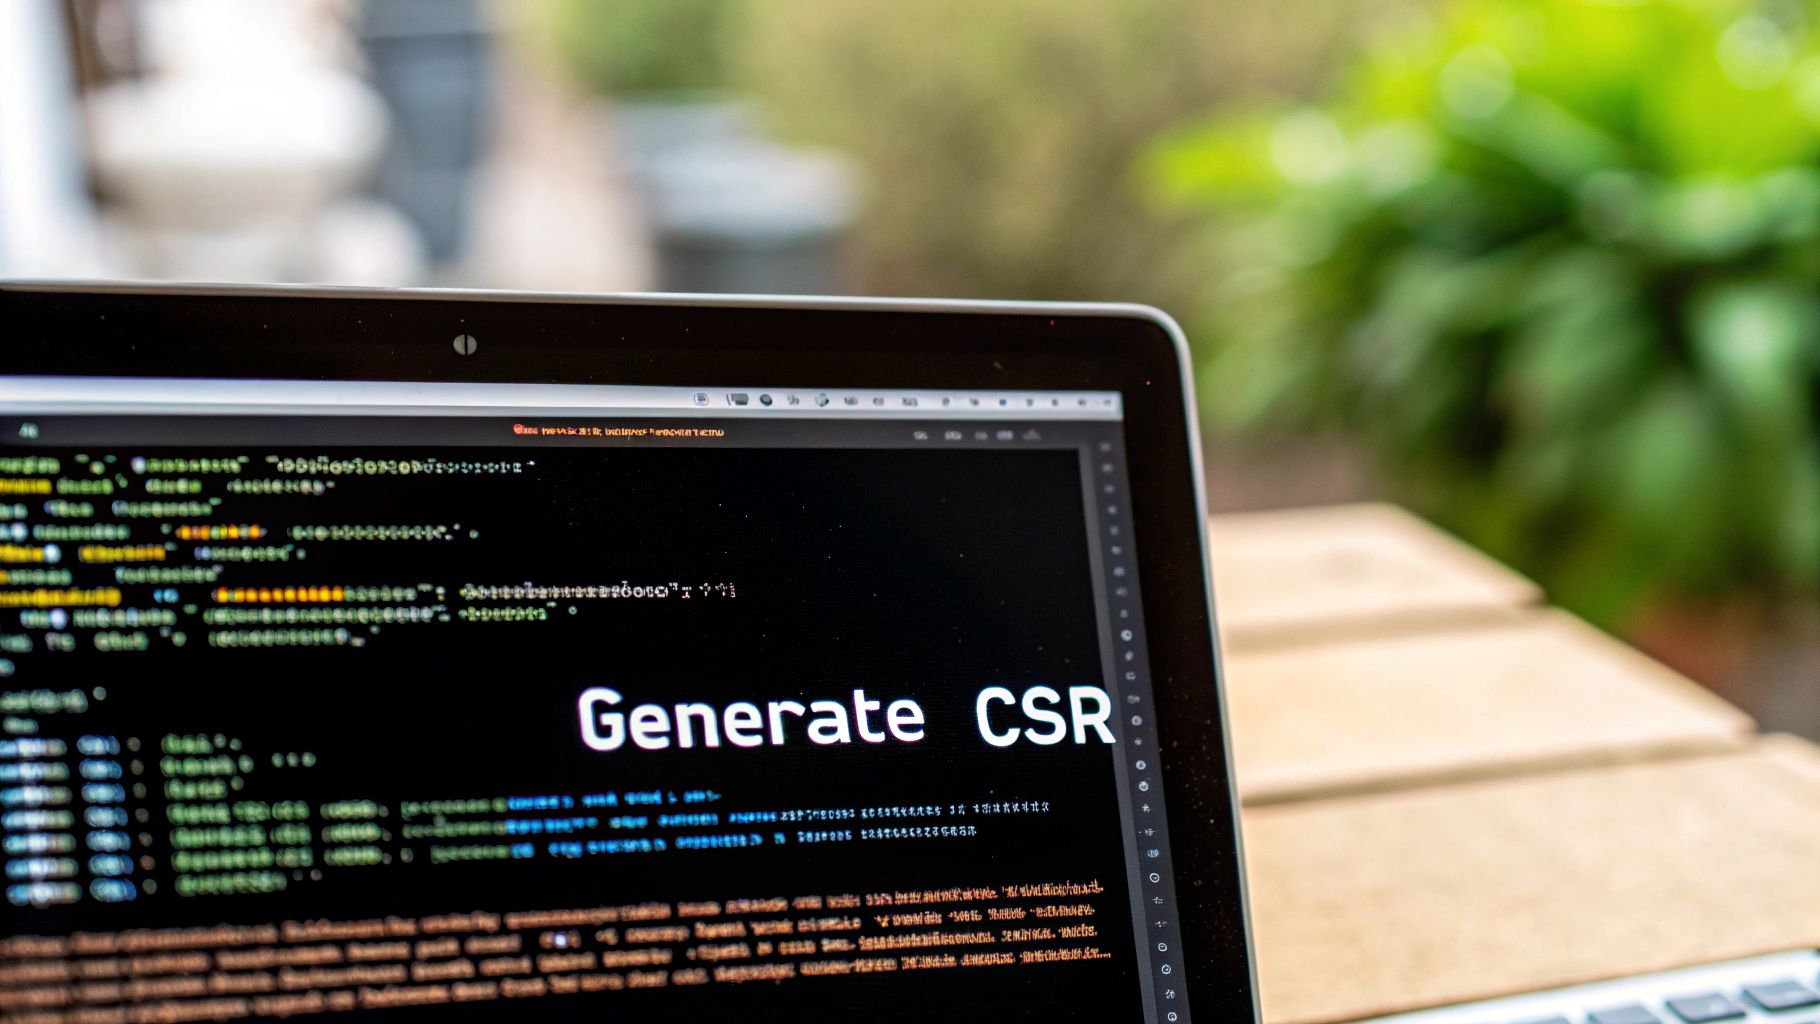
Before you jump into installing an SSL certificate, a bit of prep work will save you a lot of headaches later on. Getting your ducks in a row first makes the actual installation process much smoother. Your first task is to generate two essential digital files.
One is your private key—a secret code that must be kept secure and never, ever shared. The other is a Certificate Signing Request (CSR), which is an encoded piece of text with details about your domain and organisation. Thankfully, most hosting control panels like cPanel or Plesk have built-in tools that generate both of these for you at the same time.
A classic rookie mistake is generating the CSR and then misplacing the private key. Make sure you save that key somewhere safe immediately. You absolutely need it to match up with the certificate you get from the Certificate Authority (CA).
Choosing Your Certificate Level
Once you have your CSR, it's time to pick the right type of SSL certificate. This decision really boils down to how much trust you need to establish with your visitors and what kind of website you're running.
To help you decide, here’s a quick comparison of the three main types of SSL certificates.
Choosing the Right SSL Certificate Type
| Certificate Type | Validation Level | Best For | Issuance Time |
|---|---|---|---|
| Domain Validation (DV) | Basic | Blogs, portfolios, small business sites | Minutes |
| Organisation Validation (OV) | Medium | E-commerce, non-profits, corporate sites | 1-3 days |
| Extended Validation (EV) | High | Large enterprises, financial institutions (now rare) | 1-5 days |
As you can see, the right certificate depends entirely on your needs. For most people, a DV certificate is more than enough, offering quick, solid encryption without the lengthy vetting process.
The market has certainly spoken on this. An overwhelming 94.3% of all SSL certificates are Domain Validation certificates, simply because they're fast, easy, and a perfect fit for the vast majority of websites. In comparison, OV certificates make up just 5.5% of the market, and EV certificates a tiny 0.1%. You can dig into more of this data and see how providers like Let's Encrypt have transformed SSL accessibility.
Free vs Paid Certificates
Your final decision before installation is whether to go with a free certificate or buy one from a commercial CA like Sectigo or DigiCert.
Free certificates, especially those from Let's Encrypt, offer fantastic, robust encryption. They're ideal for most websites, and their ability to be automated is a massive plus.
Paid certificates, on the other hand, usually bundle in extra perks. These can include financial warranties, dedicated customer support, and access to higher validation levels like OV. If you're running an e-commerce store or a large business, that direct support line and financial safety net can be well worth the cost. This kind of layered digital trust is a core part of good online practice, much like learning how to protect your identity elsewhere online, such as staying safe on social media.
A Practical Guide to Installing Your SSL Certificate
Right, let's get to the hands-on part. You've done the groundwork: the Certificate Signing Request (CSR) and private key are generated, and you've got the certificate files from your chosen provider. Now it's time to actually install your SSL certificate. The good news is that most modern hosting environments have made this process incredibly straightforward.
My aim here is to give you a clear, no-nonsense walkthrough for the most common platforms. We'll skip the heavy jargon and focus on the practical steps to get your site secured and that reassuring padlock icon showing up in your visitors' browsers.
This image shows the validation journey, from the simplest certificate to the most rigorous.
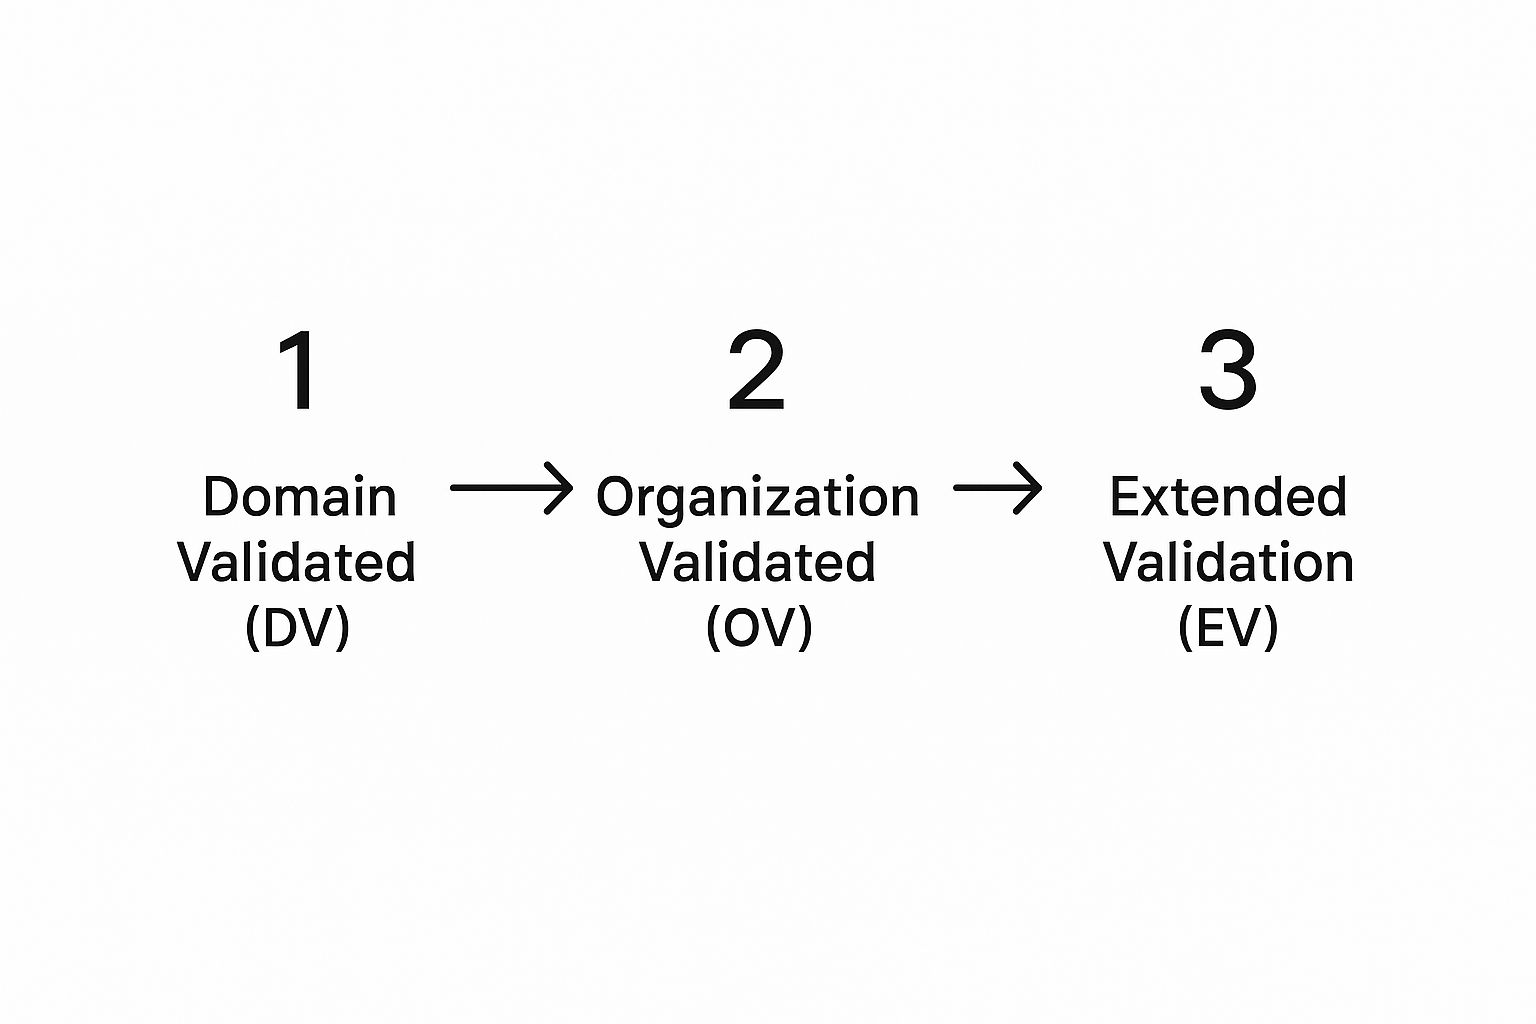
As you can see, each level builds on the last, adding deeper organisational vetting which, in turn, signals a higher level of trust to your users.
Installing an SSL Certificate in cPanel
If your web host uses cPanel, you're in luck. It has a dedicated tool called SSL/TLS Manager that really simplifies the whole process.
Once you find this section in your cPanel dashboard, look for an option labelled "Manage SSL sites." This is where the magic happens. On the next page, you'll see three main text boxes waiting for your certificate files.
- Certificate (CRT): This is your main certificate file, usually ending in
.crt. Open it with a plain text editor (like Notepad or TextEdit) and paste the entire contents, making sure to include the-----BEGIN CERTIFICATE-----and-----END CERTIFICATE-----lines. - Private Key (KEY): Remember that secret key you saved earlier? Its contents go here. It’s vital that this key corresponds to the CSR you used to get your certificate.
- Certificate Authority Bundle (CABUNDLE): Your Certificate Authority will provide this. It contains the intermediate certificates that link your domain's certificate back to their trusted root. Paste its contents into this box.
After filling in all three boxes, just click the "Install Certificate" button. cPanel will check that all the pieces match up, and if they do, your certificate should be active within minutes.
Installation Walkthrough for Plesk
Plesk, another popular control panel in the UK, offers a similarly user-friendly experience. Start by heading to the "Websites & Domains" section and finding the domain you want to secure. From there, look for an option called "SSL/TLS Certificates."
Here, you can add a new certificate. Plesk gives you fields where you can either upload the .crt, .key, and ca.crt files directly or, just like in cPanel, paste the text content from each file.
A common trip-up I see in Plesk is forgetting to assign the certificate after uploading it. Once your files are in, you must go back to the "Hosting Settings" for that domain and explicitly select your newly added SSL certificate from the dropdown menu to make it live.
Manual Installation on Apache and Nginx
For those of you managing your own servers, the process is more manual but still perfectly achievable. It just involves editing server configuration files directly using a command-line editor.
With Apache, you’ll need to find and edit your virtual host file. This is often located somewhere like /etc/apache2/sites-available/. Inside this file, you'll add a few lines pointing to your certificate files:
- SSLCertificateFile: The full path to your main certificate (
.crt) file. - SSLCertificateKeyFile: The path to your private key (
.key) file. - SSLCertificateChainFile: The path to your CA bundle file.
For Nginx, the idea is the same, but the syntax is a bit different. You'll edit your server block configuration file (e.g., in /etc/nginx/sites-available/). The directives you need are:
ssl_certificate: This points to your main certificate and CA bundle, which are often combined into a single.pemor.crtfile for Nginx.ssl_certificate_key: This points to your private key file.
After saving your changes on either server, a quick service restart is all it takes. Running sudo systemctl restart apache2 or sudo systemctl restart nginx will apply the new configuration and activate your SSL certificate.
Automating Your SSL with Let's Encrypt and Certbot
Let's be honest, manually renewing an SSL certificate every year is a chore. It's one of those admin tasks that's easy to forget until visitors are met with a glaring security warning. What if you could just set it up once and forget about it? That’s exactly the problem Let's Encrypt solves. It’s a free, automated, and open Certificate Authority (CA) that has genuinely changed the game for website security.
For small businesses, bloggers, and developers, this is a massive win. It removes both the cost barrier and the tedious manual work tied to traditional SSL management. Let's Encrypt pairs up with a brilliant software client called Certbot, which handles everything from the initial certificate setup to the all-important renewals.
The real magic here isn't just that it's free—it's the automation. Forgetting to renew a certificate can effectively take your site offline behind a wall of browser warnings. Automation makes this a problem of the past, ensuring your site stays secure without you having to lift a finger.
Getting Started with Certbot
The first thing you’ll need to do is get the Certbot client installed on your server. How you do this depends on your server’s operating system and web server software, but thankfully, the Certbot website has some of the clearest, most user-friendly instructions I've come across.
Just head over to their site, select your software (like Apache or Nginx) and your OS (like Ubuntu or CentOS), and it will generate the exact commands you need. No more guesswork.
For instance, if you're on a server running Ubuntu with Apache, you'd typically run a couple of simple commands to add the Certbot repository and install the package. It’s usually a two-minute job.
Automating the Installation and Renewal
With Certbot installed, securing your site is incredibly straightforward. On an Apache server, you can often just run a single command like sudo certbot --apache. From there, Certbot takes over:
- It scans your Apache configuration to find all the domains and subdomains you’re hosting.
- It then asks you which domains you want to secure with HTTPS.
- Next, it automatically fetches the certificate from Let's Encrypt and expertly configures your Apache files to use it.
- Finally, it will offer to set up a redirect for you, pushing all HTTP traffic to the secure HTTPS version.
The process is almost identical for Nginx servers, just with a different command: sudo certbot --nginx. In either case, Certbot does all the heavy lifting to install the SSL certificate correctly.
Perhaps the best part is what happens next. During this setup, Certbot quietly adds a renewal script to your system’s scheduler (like a cron job). This script will run on its own, periodically checking your certificate's expiry date and automatically renewing it long before it becomes an issue. This completely hands-off approach provides uninterrupted security, making it a powerful and cost-effective strategy for any website owner.
Confirming Your Setup and Forcing HTTPS
So, you've got your SSL certificate files uploaded and in the right place. That’s a huge milestone, but the job isn't quite done. Now comes the crucial part: verifying that everything is working as it should and, most importantly, making sure every single visitor is automatically using that new secure connection.
Your first port of call should be an online SSL checker. There are plenty of fantastic, free tools that will give your domain’s setup a thorough examination. These tools do far more than just give you a simple "yes" or "no" on whether a certificate is installed; they provide a full diagnostic report.
They dig into the details, checking if the certificate correctly matches your domain, if it's trusted by all major browsers, and if the entire certificate chain is properly configured. A common trip-up I see is a broken chain, where the intermediate certificates are missing. A good checker will spot this instantly, saving you hours of frustrating troubleshooting later on.
Pushing All Visitors to a Secure Connection
Once you've got the green light on your installation, the next step is to redirect all traffic from the old, insecure HTTP to the new, secure HTTPS. This isn’t just good practice; it’s absolutely essential for security and for preventing those nasty browser warnings that scare visitors away. If you skip this, people can still land on the insecure version of your site, which completely defeats the point of all your hard work.
Forgetting this step can also cause "mixed content" errors. This is what happens when a secure page (HTTPS) tries to load insecure elements like images or scripts (over HTTP). Modern browsers will often block these resources, which can break your site's layout and functionality in an instant.
Forcing a site-wide redirect from HTTP to HTTPS is one of the most important final steps you can take. It closes any security gaps, ensures a consistent and trustworthy user experience, and gives you the full SEO benefit of having a secure site.
To set up this redirect, you’ll need to add a small piece of code to your server’s configuration file. The exact method will depend on your web server software.
For Apache Servers (.htaccess)
Most shared hosting plans run on Apache. For this, you just need to edit the .htaccess file in your website's main directory. Add these lines:
RewriteEngine On
RewriteCond %{HTTPS} off
RewriteRule ^(.*)$ https://%{HTTP_HOST}%{REQUEST_URI} [L,R=301]
This bit of code simply checks if a connection is insecure (off). If it is, it issues a permanent redirect (R=301) to the exact same URL, but with https:// at the start.
For Nginx Servers
If you're using a VPS or a dedicated server running Nginx, you'll need to edit your server block configuration file instead. Inside the server block that listens on port 80, you’ll add this:
server {
listen 80;
server_name yourdomain.co.uk www.yourdomain.co.uk;
return 301 https://$server_name$request_uri;
}
This tells Nginx to catch all insecure traffic on port 80 and permanently redirect it to its HTTPS equivalent. Getting these final steps right is a key part of technical compliance, which you can learn more about in our website compliance checklist.
What's Next for SSL? A Look at the Future and How to Get Your Website Ready
Just when you’ve got the hang of installing an SSL certificate, the goalposts are already moving. That’s the nature of web security – it never stands still. A major shift is coming down the line for SSL certificates, and getting a handle on it now will save you a world of pain later.
The biggest change we're seeing is the push towards much shorter certificate lifespans. Not too long ago, you could get a certificate valid for several years. Now, we're down to just over a year, and the trend is pointing towards even shorter periods. This isn't just to make our lives more difficult; there's a solid security reason behind it.
Why Shorter is Better for Security
Think about it: if a private key gets compromised, a certificate that expires in 30 days is a much smaller risk than one that's valid for another year. Shorter validity periods dramatically shrink the window of opportunity for an attacker to misuse a stolen key. This forces website owners to prove they still control their domain more frequently, which keeps the whole ecosystem safer.
I know what you're thinking – constant renewals sound like a lot of extra work. And you'd be right, if you were doing it manually. This is precisely why the "set it and forget it" approach to SSL is on its way out. The future is automation.
This shift isn't just about best practices; it's becoming a necessity. Getting on board with automated certificate management isn't just for convenience anymore – it’s about keeping your site online in a much more demanding security landscape.
For those of us in the UK, a particularly significant change is on the horizon. By 2029, the maximum validity for an SSL certificate will be slashed to just 47 days. It’s a bold move designed to significantly bolster digital security through rapid, frequent renewals. For UK organisations, embracing automation will be the only realistic way to stay compliant. You can read more about the 47-day SSL certificate mandate and what it means for you.
How You Can Prepare for the Change
This move towards rapid-fire expiration makes automated systems essential. They're no longer a 'nice-to-have'. If your current SSL process involves a calendar reminder and a frantic afternoon of copying and pasting text files, that simply won't work when certificates need renewing every month and a half.
Here’s a practical game plan to get your website ready:
- Get on the Automation Train: If you’re not already using a tool like Let's Encrypt with an ACME client like Certbot, now is the perfect time to make the switch. These tools were built from the ground up to handle frequent, hands-off renewals.
- Audit Your Certificates: If you manage more than a couple of websites, it's time for a full audit. Go through every certificate you have, identify the ones renewed manually, and map out a strategy to move them to an automated system.
- Be Smart About Hosting: When you're choosing a hosting provider, make their SSL automation features a key part of your decision. A good host will offer seamless, one-click Let's Encrypt integration that makes the whole process a breeze.
If you put these practices in place now, the future 47-day requirement will be a complete non-issue. Your systems will simply handle the renewals quietly in the background, ensuring your website stays secure, trusted, and online without you having to lift a finger.
Common Questions About SSL Certificate Installation
Even with a perfect plan, you're bound to have a few questions when installing an SSL certificate. It happens to everyone. Let's walk through some of the most common queries I hear, so you can navigate the process smoothly and sidestep those typical roadblocks.
How Long Does It All Take?
One of the first things people want to know is about timing. For a standard Domain Validation (DV) certificate, you can genuinely go from generating your CSR to having the certificate issued in as little as five minutes. It's remarkably quick.
However, if you're going for an Organisation Validation (OV) certificate, you'll need a bit more patience. The Certificate Authority has to manually verify your business details, so that process usually takes a few days.
What If I Make a Mistake?
It's a common worry: "What happens if I put the wrong information in my CSR?" If you've got a typo in your organisation's name or address, you can't just edit it. You'll need to generate a brand new CSR and start the application over again. The good news is that most CAs let you reissue the certificate for free, usually within the first 30 days.
My best advice is simple: double-check every single field before you hit submit. Taking an extra minute to proofread for typos is far less hassle than going through the whole reissuance process from scratch. Trust me on this one.
Why Isn't My Certificate Working After Installation?
So, you've installed it, but you're not seeing the padlock. What gives? Nine times out of ten, the culprit is a missing or incorrect CA Bundle (also called an intermediate certificate). This little file is crucial—it connects your certificate to the Certificate Authority's trusted root. Without it, browsers won't trust your site. Always make sure you've pasted the exact bundle file your CA provided.
Can I Use One Certificate on Multiple Servers?
Finally, a question I get a lot, especially from people with more complex setups: "Can I use one SSL certificate on more than one server?" Absolutely, yes. As long as you have both the certificate file and its matching private key, you can install them on as many servers as you need for that specific domain. This is incredibly useful in environments with load balancers.
Feeling overwhelmed by the technical details? Let the experts at Ibertech Solutions Limited handle your website security from start to finish. We ensure your SSL certificate is installed perfectly, providing a secure and trustworthy experience for your visitors. Contact us today for a complete website security solution.